Running 9front on OVHcloud VPS
April 15, 2026
OVHcloud offers several prepackaged Linux and FreeBSD installs. But it is possible to install 9front using the "rescue mode".
First, get an OVHcloud VPS, I went with the VPS-2. At the time of this writing that was 6 vcores, 12GB of ram, and 100GB of storage.
I just set it up with Debian 12.
Once it is up and running, there is an option on the website to boot into "rescue mode".
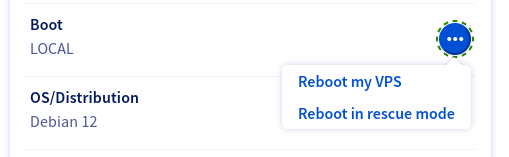
Once that is selected, it asks to confirm, and within a couple minutes OVHcloud will send an email with login instructions for ssh.
First thing is to format the drive you will be using. OVHcloud seem to use /dev/sda for the rescue stuff, and /dev/sdb for the installed OS. They also seem to have the disk setup for GPT and then add a partion for BIOS for legacy boot. So you need to use fdisk, the 'd' command to delete existing partitions, the 'o' command to set the disk to legacy MBR more, and 'w' to write it to disk.
fdisk /dev/sdb
The rescue mode has limited space. So the first thing is to make some room to store the 9front iso file. For that I mode a directory in called 'foo' to tmpfs. 1GB should be enough to get the zipped iso, and room to unzip it.
mkdir /root/foo
mount -t tmpfs -o size=1G tmpfs /root/foo
cd /root/foo
wget http://[url of the iso file]
Next, install qemu. I had to run update for it to properly fetch it.
apt install qemu-kvm
Once qemu is installed, you can boot up the 9front iso. I found a few older instructions for getting a custom iso booted on OVHcloud, and had to tweak them to work for 9front and for this newer version of qemu. Edit '/root/foo/9front-...' to match wher you put the iso and what it is named.
qemu-system-x86_64 -netdev type=user,id=mynet0 -device virtio-net-pci,netdev=mynet0 -m 2048 \
-enable-kvm -drive index=0,media=disk,if=virtio,file=/dev/sdb -vga qxl \
-spice port=5900,addr=127.0.0.1,disable-ticketing=on \
-daemonize -cdrom /root/foo/9front-11666.amd64.iso -boot d
This will run the 9front iso in qemu and provide access via spice on port 5900. So next, you need to set up another ssh connection for port 5900 and forward it to you local machine. [you vps ip] is the ip address for your VPS on OVHcloud.
ssh -4 -v root@[your vps ip] -L 5900:localhost:5900
With that, you can use what ever spice compatable app you want, and installing is mostly straight forward. The important part is to make sure you set up MBR booting and mark the partition active, or it will not boot when you go back to the OVHcloud website and set it back to normal booting. For networking, use automatic. From what I've tried so far, getting your address by DHCP works, but manually entering it doesn't. Likely some magic going on with the networking inside their datacenter.
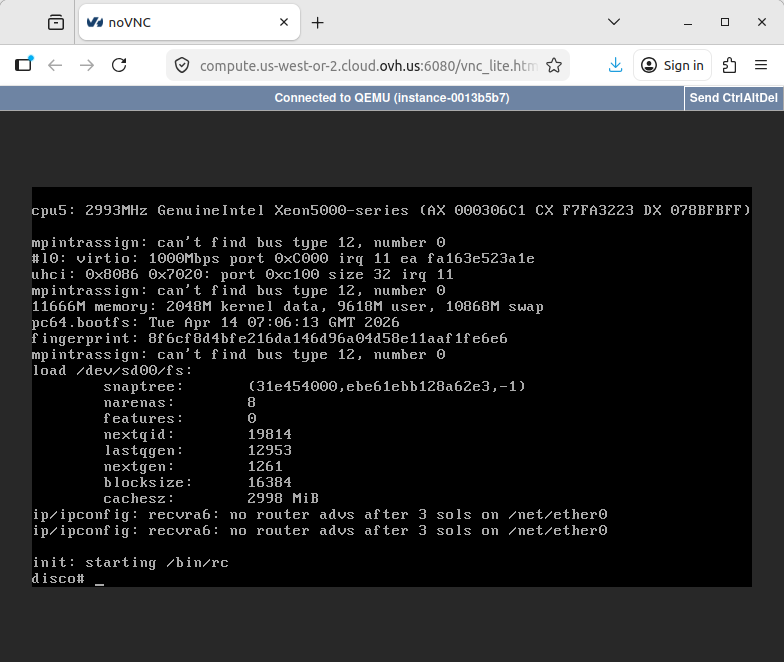
Another thing to keep in mind is that 9front running in qemu in rescue mode will see the /dev/sdb partition as /dev/sdF0, but once booting normally, that will be /dev/sd00. So the bootargs the installer put in will not work when OVHcloud does the normal boot. You can manually enter the correct partition at boot.
local!/dev/sd00/fs -A
You can access the terminal using OVHcloud's web based VNC, hidden away as the 'KVM' button.
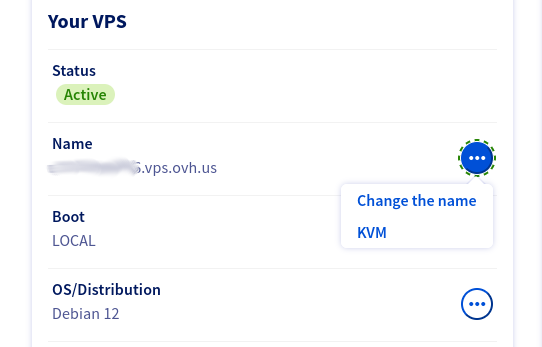
From VNC, you can go through the typical steps to set your install up to boot as a server.
Have Fun!